I used to design type posters almost everyday; now it’s mainly brochures and reports. Recently I was wondering if my process is solid enough to meet both needs – and more importantly, how many design crimes are included in that process. Ideally I should have reviewed all my design projects, with my nose in a good typography manual. What actually happened was, I opened a new artboard on my computer and started doing whatever, pausing to jot down any thoughts or questions. (Turns out, I really miss making posters.) So here is my jumbled, crowded report.
Choose your page.
Even if you hate planning, you can’t avoid this step. Digital posters are usually square, because that works across all social media. Paper prints often use the ISO series (A4, A3, and so on) which imposes a unique ratio on your layout. Even so, you still have to choose between portrait and landscape. Each has a different effect on the layout.
Paper also influences your colour options. Stock paper usually comes in white, so that’s always your default. If you can work with white paper, do it; skip all the fuss. But since design is about communicating intent, it’s always tempting to run away from the default. That’s fine: for starters, fill the page with black. This makes everything on the page jump at the eye, appearing to exist in a vacuum.
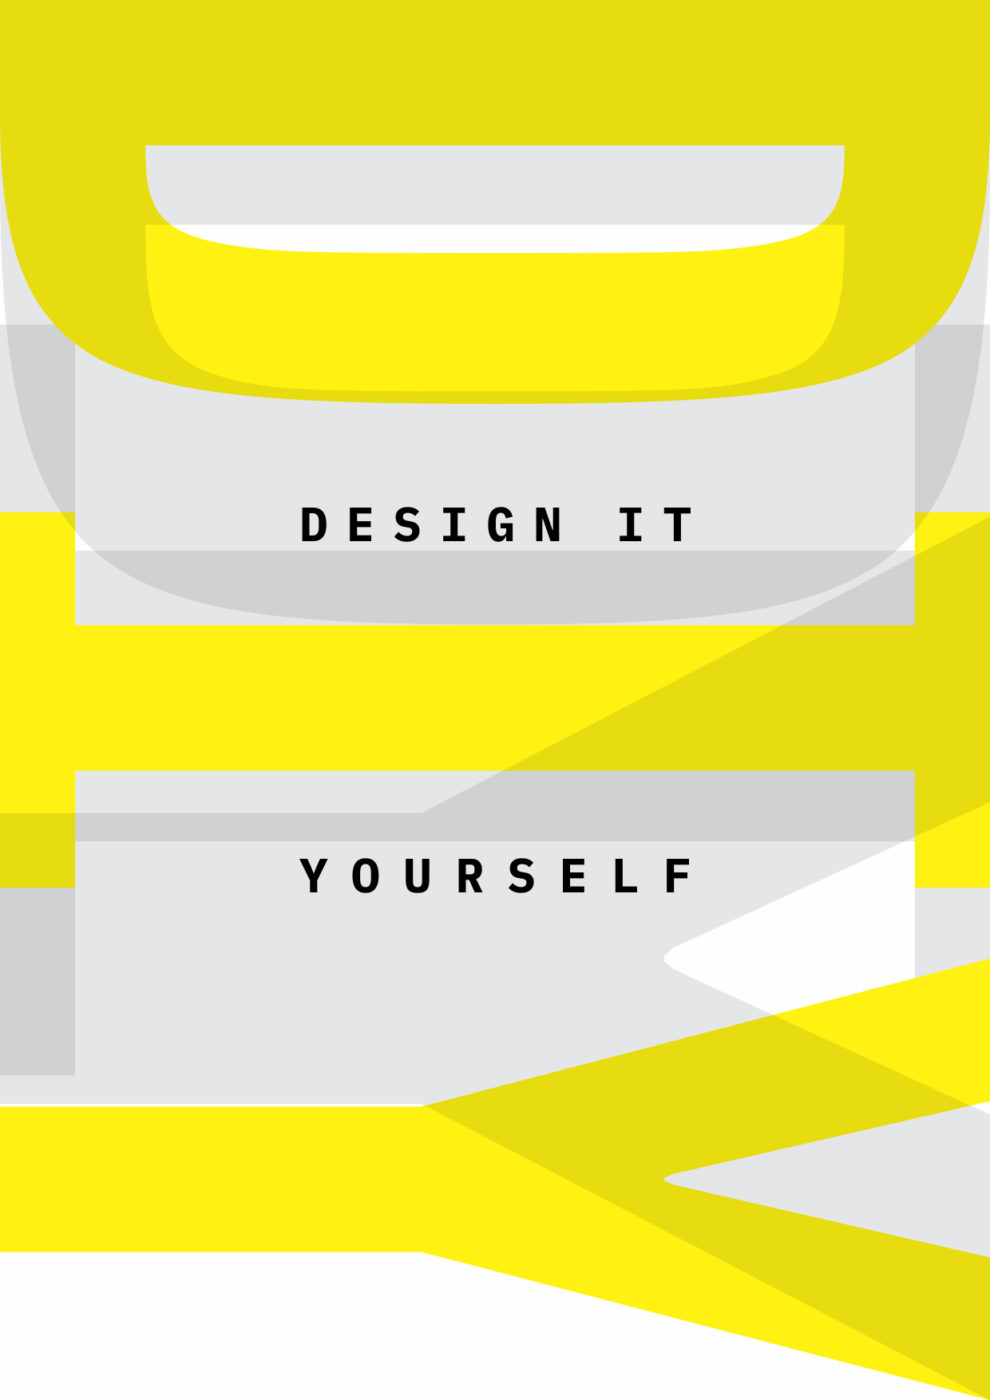
Use as much contrast as possible.
This applies to colour, to sizing, to text orientation. If your background is black, your most important statement should be in white, or yellow. If your body copy is 24 pt, make your headline at least 72. But you’ll probably like what you get when you jump straight to 240, or expand to the very edge of the page. If the headline isn’t playing nice with the body copy (‘DIY’ is such a short block, it spoils the balance) rotate it by a significant amount. When each block has an axis to itself, they don’t disturb each other.
Aim for solid colour fills.
Expanding on colour: posters should be printed in spot colour whenever possible, not process. Spot colours come in exact tones, usually specified by the Pantone chart. Process colours are created with halftones – that is, by printing tiny Cyan (blue), Magenta (sort of purplish red) Yellow and Black (called K for some reason I forget) dots next to each other. This means that it’s hard to create a solid block of colour, and your shapes can’t have an ideal definition at the edges. If you’re running small digital printing jobs, you can cheat by specifying one of the four colours (for blue, use 100% C with the other three values at 0). Your printer may hate you though. For regular process colours, make sure that one of the four pigments is at 100%, for at least one full spread of ink. Another tip: you can’t achieve a really rich black with just 100%K. I usually add a little Cyan or Magenta to give it depth.
(Note: if more than three pigments pass 70%, your print may over-saturate and bleed ink.)


Get used to lowercase lettering.
Sentence case… Title Case… ALL CAPS. Your letter case can make a big difference to your design. The lower-case alphabet used to form a complete writing system, separate from the capitals. Capitals were developed for stone-carving, lower-case was created from handwriting. So naturally, lower-case is more approachable. It’s easier to work with caps because all the heights line up nicely into a rectangle, but you’d be losing visual interest. You want curves swooping up and down. If you want, you can even lose the first capital.
Find a good font.
It’s a typographic poster, remember. Start with the feel of your message: serif or sans-serif? Sans-serif is usually less decorative, no small dashes at the ends of the vertical strokes. This has been the graphic design default for decades. If you’re on a Mac, you have Avenir and Helvetica as system fonts, so you’re good to go. If you’re on Windows, you have its poor cousin, Arial (I personally prefer Calibri). But since you’re online, go to Google Fonts and grab Archivo, IBM Plex, Fira Sans, and Libre Franklin (my go-to for years). I also love the fonts from the League of Moveable Type, especially League Spartan.
For the black poster above, I used Jost, a remix of the Futura font, because I wanted straight lines and sharp edges. The red and yellow poster uses League Gothic from the League of Moveable Type, because it has nice long letter stems that I could edit for even more length. If you want curves to play with, then consider Archivo or Fira Sans.
Don’t just Google for ‘free fonts’. Really, don’t. You’ll just get badly-drawn alphabets that don’t include punctuation marks or numbers. (Some designers lock certain glyphs in the free version; others just don’t bother making them.) A good font should have a full character set. It’s always better to use families of fonts, because you get different weights: a thin, a medium, and a bold, at the very least. Good families also give you condensed and expanded versions, italics, small caps, old-style numerals, and special ligatures (joinings between letters, like fi and tt). One more thing: a lot of so-called free fonts are marked ‘personal use only’. You’ll want to check your license before you pack everything up for your clients.

Check your spacing and your kerning.
Especially for free fonts, you may have to adjust the spacing between letters. As you increase text size, the letterspacing also goes up, but large text needs less space than small text. Adjust accordingly. General rule: check the counters of your letters (such as, the negative space in the letter ‘o’). Your space shouldn’t be more than that, unless you’re aiming for some vibe. If letters are touching, it’s too close. Again, you can do this deliberately. I often use extra-wide spacing with all-caps text, which by default needs more allowance than lower-case.
That’s letterspacing, which affects all of your text. There’s also kerning, which we use to adjust awkward letter combinations. (Consider the word awkward – the space between the ‘w’ and the ‘k’ usually needs some work.) Good kerning is a black art that takes a lot of experience and taste to acquire, but here’s a useful tip: don’t touch the first and last letters in the word you’re kerning, just distribute the space between letters until it feels even. Also, some designers swear by flipping the text upside down, so that the eye can judge the shapes without being biased by the familiarity of a word. Honestly, I just use ‘auto-kern’ unless it’s a huge headline, or a wordmark logo.
Fun fact: if you manually kern a 500-word essay, you automatically join the Illustrati.
And then there’s line-spacing – the vertical gap between lines. You probably don’t want to have enough space for a whole line to fit in your gaps, and you don’t want your vertical strokes touching. (Imagine having p on one line, d on the next; if the line-height is too small, they’ll get in each other’s way.) Every font has its own sweet spot, but you’re probably safe with 150% of your text size; for 10-point text, leading would be 15 points. (My default used to be 120%; imagine that.) As with letter-spacing, body text needs more room than large text.
There is a simple principle behind all these rules: keep things organized, keep things uniform. Put all related text in the same box, and apply universal settings to them. Don’t get fancy and change things on a whim; build rhythms and patterns that make sense for the whole piece of text.
Mind the body.
If you have at least a hundred words, start your text size from 10 points. The MS Word default used to be 12, but printers have gotten sharper, and good fonts now have special adaptations for small text. You can go all the way down to 6 points, and people should still read it fine. It helps to make your headline size a multiple of your body text size. Don’t mind if you have a wide margin around your layout. As long as it feels right, surrounding whitespace is a plus, not a problem.
The ideal paragraph should be relatively narrow, around 7 – 12 words wide. This makes the text more readable, and more manageable as a layout element. If you have to use a wider column of text, add some extra line-spacing to air things out. If the text is long, try using multiple columns. Don’t let two consecutive lines end with a hyphen if you can help it; three hyphen-endings per paragraph is a good limit. You can avoid hyphenation by using normal alignment, and adding line breaks yourself with the Enter key. Don’t abuse the bold and italic, unless you want to make the text look jumpy.
What we’re aiming for is the ideal of typographic colour – getting the text block to feel like it’s woven into the page. When the font is too airy and light, you tighten up the spacing. When every line is thick and brooding, you spread things out. Just keep everything light and even between the text and background. You can try squinting at your page: everything should look nice and gray, no dark or light spots.
To justify or not to justify?
Some clients will specify that you should align both ends of your text; they feel it looks cleaner. Hospitals look cleaner than hotels, but who wants to market their consumer products in a hospital lobby? Left-aligned or ragged-right text has a straight backbone on the left, and a nice flowing edge on the right. (The rag is the uneven edge; the straight edge is called ‘flush’). For right-aligned, this balance is flipped. The first option is how we naturally write in our books. The second is often useful for distinguishing captions from normal text. (Tip: always put the straight edge of the text box next to photos and other boxy elements.) I’ve also set full paragraphs in right-aligned text. It definitely gets attention. You need to tidy your ragged edge yourself, keeping it random – make sure that three lines never slope in the same direction.
But when you need to justify, remember that this is the kind of thing that humans do better than machines. Don’t leave glaring gaps in your text. If you get a big hole on this line, make sure no holes come in the same place on the line above or the one below. Keep things readable, adding hyphens and line breaks when necessary. As for centered text – it needs a lot of whitespace, it’s harder to read, and even when it works, it looks delicate. Think it through carefully.


Watch your punctuation.
By default, your quotation marks will actually be teardrop-shaped prime marks, which are mathematical symbols for feet and inches. Find out how to turn on real typographers’ quotes, which look like sixes and nines. For best alignment of block text, quote marks and list bullets should be shifted to the left, so that the text in the list aligns with the rest of the paragraph. However, this is pretty difficult to do without professional desktop publishing software.
Prune your text.
Here’s a fact: serious designers spend a lot of time rewriting text, or negotiating for changes. On the ego side, most killer posters only use one headline phrase with two or three neat blocks for small text. (That’s a simple, sure-fire formula.) On the practical side, you can fix an awkward line by replacing a long word with a short one. You can delete repeated phrases to shorten your text, especially when you’re close to your page limit… Maybe this seems extreme; still you’ll need to standardize formatting every day. Many writers have bad habits when it comes to boldface, underlining and italics, so you can either pick one format for emphasis, or you can send it back for a rewrite. If the document has seven heading levels you will have to fix the text. As for tables and lists… Trust me, editing is often more reasonable than decorating the problem. Because a flowery mess is worse than a humble one.
Finally… do one crazy thing.
Just one, and it doesn’t have to be a whole type illustration. (I was just copying this Paul Renner tribute poster.) One simple choice is a full-bleed headline (one big enough to touch both sides of the page), but you can also set a whole paragraph in full-bleed. A flat shadow on your headline could change everything. Or you can make something semi-transparent. Just give yourself a one-sentence mission, and make sure that it doesn’t start fighting the main message.
Resources
Well, that’s everything. I hope there are some helpful reminders in here, but if you’re truly new to typography, you’ll need something with structure. I recommend Butterick’s Practical Typography – including ways to handle type in MS Word. Fonts.com has a similar collection, maybe less opinionated. There’s also these two short PDFs created by Tim Brown and Adobe Fonts. Behance is your friend, Pinterest is your teacher.
If you need fonts (I mean usable fonts, not the ones that you got from some shady zip folder) simply go to Beautiful Web Type and download everything. But probably delete your hundreds of bad ones first, to save headaches later. Also, it’s good to have favourite fonts, especially for lots of text. It takes time to figure each font out, so use your champions whenever you can.
May the font be with you.
P.S.: If you want to read the text I used for the last two posters, here you go.